




Last updated: September 29, 2026
In this article
You reach for the oven, catch a whiff of last month’s roast burning off the element, and realize the appliance you cook on every day has quietly become the dirtiest thing in the house. Cleaning kitchen appliances is mostly about staying ahead of build-up: wipe spills while they are fresh, run a monthly cleaning cycle, and give the heavy jobs a proper session a few times a year. Do that and you avoid the all-day scrub that makes most people put it off in the first place. If you would rather hand the whole kitchen to someone, our residential cleaning team handles the deep work, but everything below is doable on a free afternoon.
This guide goes appliance by appliance, the fridge, oven, stovetop, microwave, and dishwasher, with the cleaning method that actually works for each and the small habits that keep them that way. The point is not a spotless kitchen for one day. It is appliances that run better, last longer, and never reach the state where you dread opening them.
Why Appliance Upkeep is Worth the Effort
Clean appliances are not just about looks. A fridge with dusty coils works harder and uses more power to hold its temperature. A greasy range hood filter pushes cooking smoke back into the room instead of pulling it out. Baked-on oven residue smokes every time you preheat, and that smoke is exactly what the fire service warns about, because cooking equipment is the leading cause of home fires in North America.
There is a food-safety angle too. Spills inside the fridge and crumbs in the toaster are where bacteria and pests find a home. Keeping appliances clean is part of running a healthy kitchen, and groups like the NFPA treat a clean stovetop and hood as a basic fire-prevention step, not a nicety. So the payoff is real: lower bills, fewer repairs, a safer kitchen, and food that is stored the way it should be.
Did you know?
A refrigerator can account for a meaningful slice of a home’s electricity use, and dust-clogged condenser coils make it climb. Vacuuming the coils twice a year is one of the cheapest efficiency wins in the kitchen, and it is a step most people never think to do.
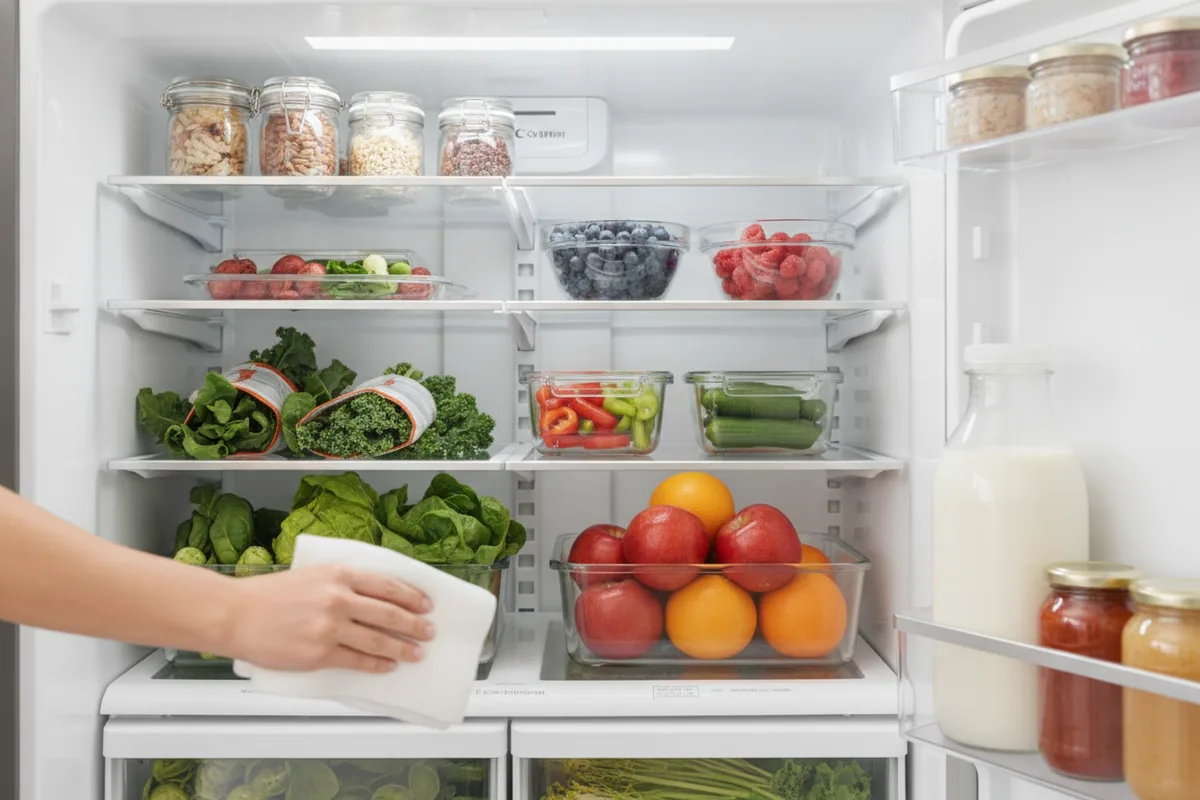
The Refrigerator: Where it Usually Starts
The fridge is the appliance that rewards regular attention the most, because spills and forgotten leftovers turn into smells fast. Start by pulling everything out, tossing what is past its prime, and taking out the shelves and drawers. Wash those in warm soapy water, never with anything harsh that could leave a residue near food, and dry them before they go back.
For the interior, a solution of warm water with a little baking soda lifts most spills and neutralizes odours without leaving a scent that taints food. Wipe the door seals with the same cloth, since crumbs there break the seal and let cold air escape. Twice a year, slide the fridge out and vacuum the coils on the back or underneath. A short note on safety: if you ever notice a unit running oddly hot or cycling constantly, check whether your model has been flagged on the Government of Canada recalls database before assuming it is just dirt.
Pro tip
Keep an open box of baking soda at the back of the fridge and write the date on it. Swap it every three months. It absorbs the odours that build between cleans, so your monthly wipe-down has a lot less to fight against and the fridge smells neutral instead of like last week’s dinner.
The Oven and Stovetop Without The Fumes
The oven is the job people dread, mostly because the usual approach is a cloud of harsh fumes and a lot of scrubbing. There is a gentler way. Make a paste of baking soda and water, spread it over the interior, avoiding the heating elements and the fan vent, and leave it overnight. The next day the softened grime wipes away, and a spray of diluted vinegar over any leftover paste fizzes it loose.
For the stovetop, the surface decides the method. Glass and ceramic tops want a dedicated cream cleaner and a soft pad, never an abrasive scrubber that scratches. Gas grates can soak in hot soapy water while you wipe the surface underneath. Whatever you have, deal with boil-overs while the surface is just warm, not hot, so they lift instead of baking on. Do not forget the range hood filter, which slides out and goes straight into a hot, soapy soak or the top rack of the dishwasher.
One habit makes the oven far easier: line the bottom with a removable mat or a sheet of foil set below the food, not on the element, to catch drips. Pull it out and replace it instead of scrubbing a baked-on spill later. Small move, big difference over a year of roasts and casseroles.
Microwave and Small Appliances
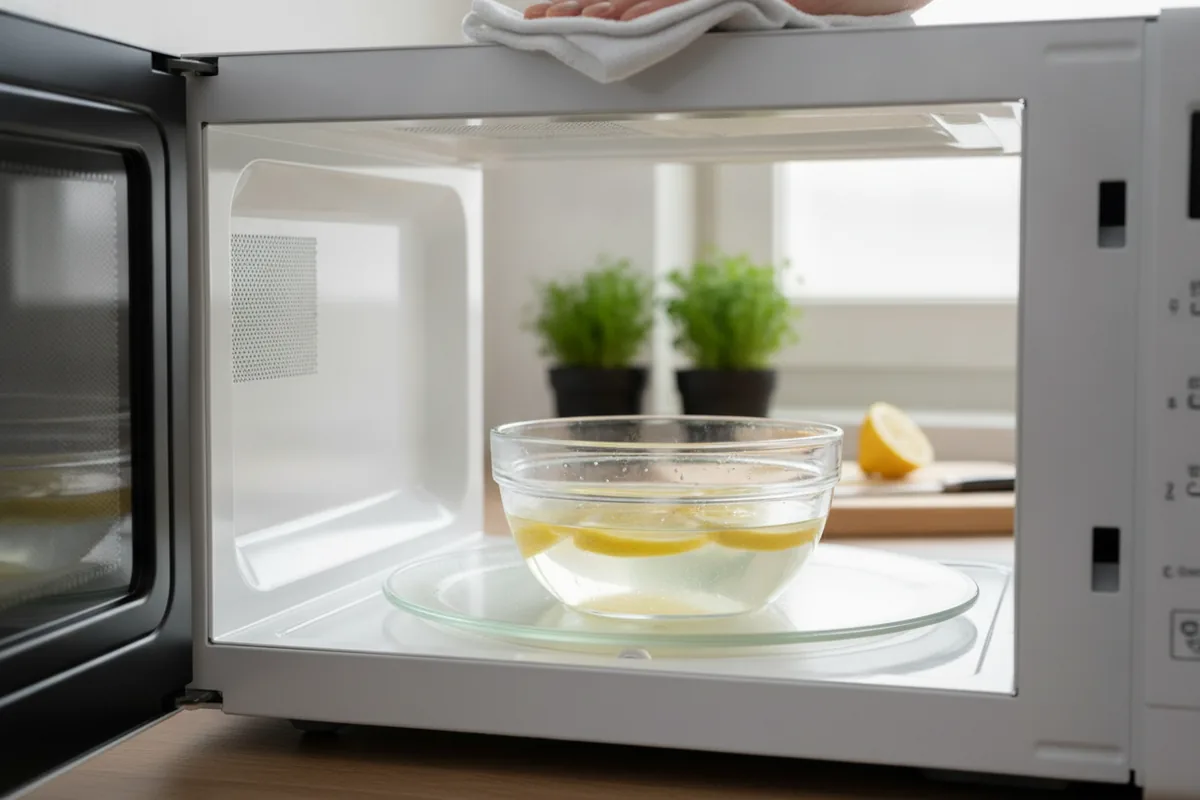
The microwave is the easiest win in the kitchen and the one people overcomplicate. Skip the sprays. Put a bowl of water with a few lemon slices or a splash of vinegar inside, run it on high for three or four minutes, then let it sit a minute before opening. The steam loosens every dried splatter so the whole interior, ceiling included, wipes clean with a cloth. Dry the door seal and the turntable and you are done.
Small appliances deserve a quick pass too. Empty the toaster crumb tray weekly, since those crumbs are both a smell and a fire risk. Wipe the kettle and descale it with diluted vinegar every month or two if your water is hard. Run the coffee maker with a water-and-vinegar cycle, then two plain water cycles, to clear scale that quietly ruins the taste. None of these takes more than a couple of minutes, and they keep the gadgets you use daily working like new.
People often ask: which cleaners are safe on food surfaces?
Stick to the gentlest thing that works. Warm soapy water, baking soda paste, and diluted white vinegar handle nearly every kitchen job and rinse away cleanly. Save the strong commercial degreasers for the rare baked-on oven mess, and always rinse food-contact surfaces with plain water afterward so nothing harsh is left where food will touch it.
The Dishwasher That Cleans Itself Badly
It sounds backwards, but the appliance that washes your dishes needs washing too. Grease, food bits, and hard-water scale collect in the filter and spray arms, and a neglected dishwasher leaves dishes spotty and develops a sour smell. The fix is simple and cheap. Pull the filter from the base of the tub, rinse it under hot water, and scrub the mesh with an old toothbrush every week or two.
Once a month, put a cup of plain white vinegar in a bowl on the top rack and run a hot cycle with nothing else inside. It clears grease from the hoses and spray arms. Follow with a sprinkle of baking soda across the bottom and a short rinse to brighten the interior and freshen it. Check the spray-arm holes for clogs and clear them with a toothpick, and leave the door ajar after each cycle so the inside dries out instead of staying damp and musty.
If you would rather not chase any of this, especially before a move or after a renovation, a professional reset covers the whole kitchen in one visit. We work across the GTA and Simcoe County, including house cleaning in Barrie, and can fold appliance interiors into a deep clean so you start from a genuinely fresh baseline.
Building a Simple Maintenance Routine
The secret to never facing a dreaded kitchen is splitting the work into small, repeatable chunks instead of one heroic session. Here is a routine that keeps every appliance in good shape without taking over your weekend.
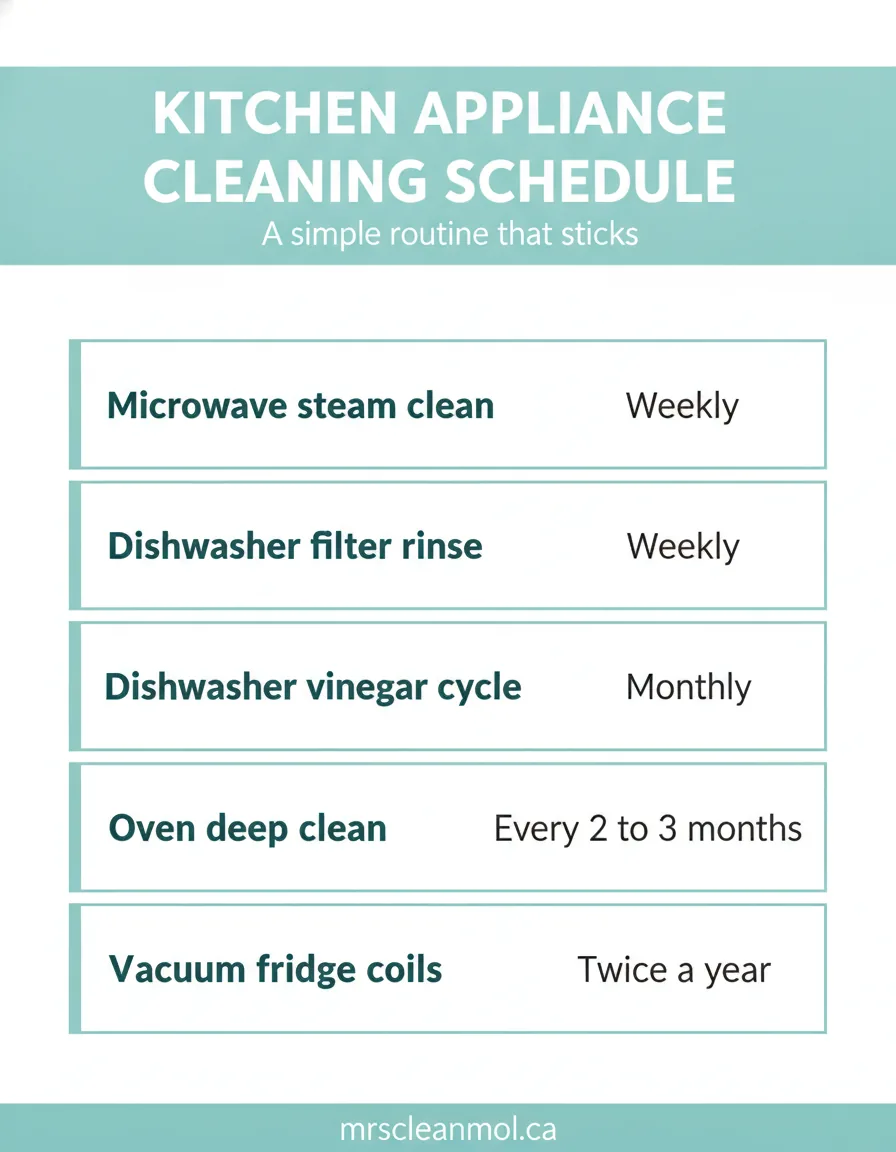
- Weekly. Wipe the stovetop and fridge handles, steam-clean the microwave, empty the toaster tray, and rinse the dishwasher filter.
- Monthly. Run the dishwasher vinegar cycle, wipe down the fridge interior and seals, and descale the kettle and coffee maker if your water is hard.
- Every two to three months. Deep clean the oven with the overnight baking-soda method and wash the range hood filter.
- Twice a year. Vacuum the fridge coils, pull appliances out to clean behind them, and check that nothing on your shelves has been recalled.
Matching the effort to the appliance is also a quiet efficiency move. Energy-rated appliances run their best when they are kept clean, so this routine pays you back in lower bills as much as in a tidy kitchen. Pin the list inside a cabinet door for the first month and it becomes second nature fast.
Please note: This article is general cleaning guidance only. Always follow the manufacturer’s manual for your specific appliance, unplug or switch off units before cleaning interiors, and test any cleaner on a small hidden spot first. CleanMol is not responsible for damage from products or methods used at home. When in doubt, check your warranty or call a professional.
Download the free quick guide
Save this as a PDF to keep on hand.
FAQs
Sources and references
- National Fire Protection Association – Cooking fire safety
- U.S. EPA / ENERGY STAR – Refrigerator efficiency
- Government of Canada – Recalls and safety alerts
Where to start: pick one appliance this week, the fridge or the microwave is the easiest, and build from there using the routine above. If you would rather skip straight to a spotless kitchen, CleanMol has kept GTA and Simcoe County homes clean for over a decade. Get a free quote and we will fold appliance deep-cleaning into a visit that fits your schedule.
Want Someone Else to Do It?
Mrs. CleanMol has been cleaning kitchens across Barrie and Simcoe County since 2014. Inside-oven and inside-fridge cleaning can be added to a maintenance clean, and fridge, stove and range hood detailing is part of a deep cleaning, which starts at $300. See house cleaning in Barrie for prices and areas, or book online and get $25 off.