



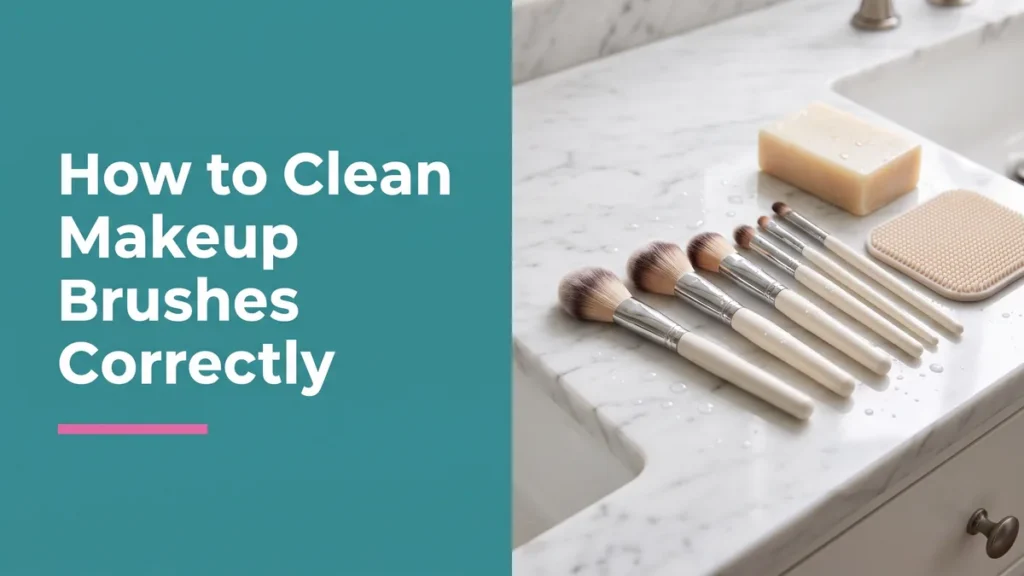
Here is the uncomfortable truth about that brush you use every morning: it is one of the dirtiest things you press against your face. Old makeup, skin oil, dead cells, and bacteria build up in the bristles, and that is exactly the mix behind a lot of surprise breakouts. Learning to clean makeup brushes correctly, and doing it on a schedule, is one of the simplest upgrades you can make to both your skin and your routine. It is the same attention to detail we bring to every home through our deep cleaning service, just scaled down to your vanity.
The good news is that it takes about five minutes of hands-on time and a couple of things you already own. The part most people get wrong is not the wash, it is the drying. Do that step right and your brushes last years longer and stay far kinder to your skin.
In this article
Why dirty brushes are a skin problem
A makeup brush is a warm, slightly damp sponge for everything it touches: leftover foundation, sebum from your skin, dead skin cells, and the bacteria that feed on all of it. Every time you dip a loaded brush back into product and then back onto your face, you move that mix around. Over time it can clog pores, trigger breakouts, and irritate sensitive skin. Dermatology groups have long flagged dirty brushes and sponges as a common, overlooked cause of skin trouble, as the American Academy of Dermatology explains.
There is a performance angle too. Clean bristles pick up and lay down colour the way they were designed to. A brush caked with old product goes stiff, streaky, and patchy, so your makeup simply looks worse. Clean brushes are better for your skin and better for your finish.
Did you know
The bristles are only half the story. Product also creeps up into the metal ferrule, the band that holds the brush together, where trapped water later loosens the glue and sheds bristles. That is why keeping water out of the ferrule matters just as much as cleaning the tips.

How to clean makeup brushes, step by step
This is general guidance for typical synthetic and natural makeup brushes. Follow any care instructions from the brush maker, and if you have sensitive skin or a skin condition, check with a dermatologist about products and frequency. Test a new cleanser on one brush first. CleanMol is not responsible for damage to brushes cleaned based on this article.
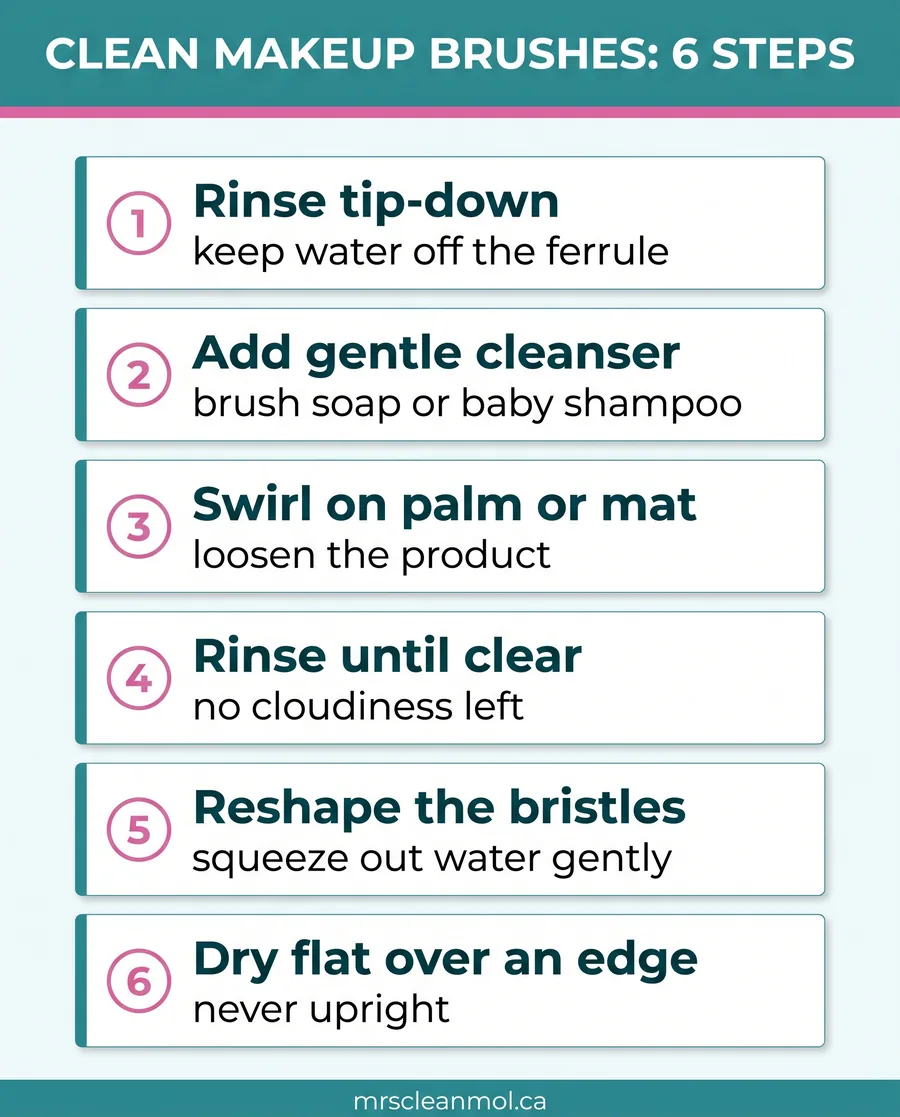
- Rinse the bristles under lukewarm water, pointing the brush tip down so water flows away from the ferrule, never up into it.
- Add a little gentle cleanser to your palm or a textured silicone mat. A dedicated brush soap, baby shampoo, or a mild gentle soap all work.
- Swirl the bristles gently against your palm or the mat to work up a lather and loosen the product. Do not mash or bend the bristles.
- Rinse again, tip down, and keep going until the water runs completely clear with no cloudiness or colour.
- Squeeze out the excess water gently and reshape the bristles back to their original shape with your fingers.
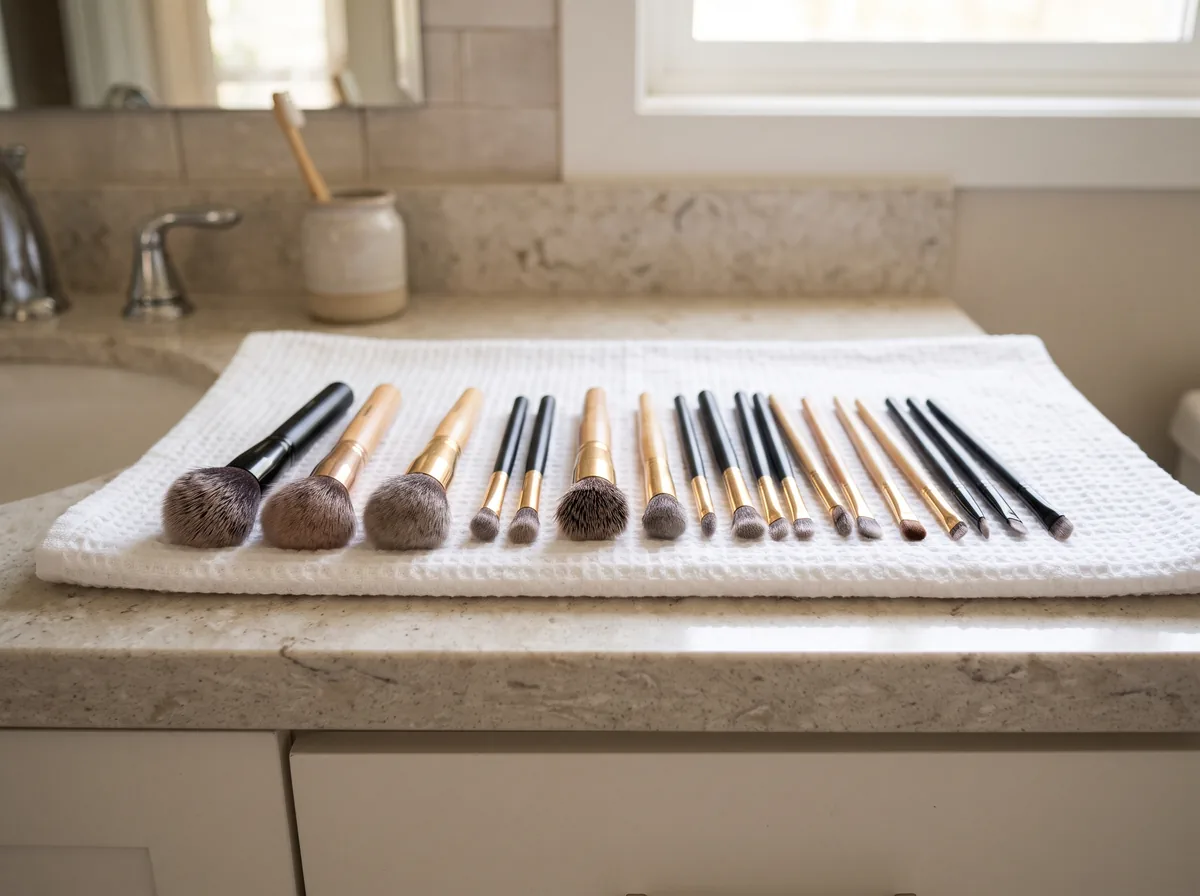
- Lay the brushes flat on a towel with the heads hanging slightly over an edge so air circulates, and let them dry fully.
Pro tip
Never dry brushes standing upright in a cup while wet. Water runs down into the ferrule, dissolves the glue, and the bristles start falling out within weeks. Flat, with the head over the edge of a counter or towel, is the single best thing you can do for brush lifespan.
Sponges and how they differ
Makeup sponges need even more attention than brushes because their damp, porous foam is a genuine haven for bacteria. Wash a sponge after every use or two. Wet it, work gentle cleanser or soap through it, and squeeze repeatedly under running water until it runs clear and the foam returns to its original colour. Let it air dry somewhere open, never sealed in a drawer or a closed case where moisture lingers.
Sponges also wear out faster than brushes. If yours is torn, crumbling, stained deep in the foam, or smells even after washing, replace it. A cheap sponge is not worth pressing bacteria into your skin.
Save your money
You do not need a pricey branded brush cleanser. A gentle baby shampoo or a mild bar soap cleans most brushes beautifully for a fraction of the cost, and a textured silicone mat that speeds up the lather is a one-time buy that pays for itself many times over.
How often should you wash them?
Frequency depends on what the brush does. Anything that touches liquid or cream product, and anything that touches your face daily, needs washing more often. Here is a simple schedule to work from.
| Brush or tool | Wash how often | Why |
|---|---|---|
| Foundation and concealer brushes | Once a week | Liquid and cream products breed bacteria fastest |
| Makeup sponges | Every use or two | Damp foam is a prime bacteria haven |
| Eye brushes (shadow, liner) | Every 1 to 2 weeks | They touch the delicate eye area |
| Powder, blush, bronzer brushes | Every 2 weeks | Dry powders build up more slowly |
| Brushes on broken-out skin | More often | Prevents moving bacteria around active breakouts |
Quick take
If you break out in ways you cannot explain, wash your foundation brush and sponge first and watch what happens over a couple of weeks. For a lot of people, that one change quietly clears things up.
Common mistakes that ruin brushes
- Soaking the whole brush. Submerging the ferrule loosens the glue and sheds bristles. Keep water on the bristles only.
- Using hot water. Heat can damage natural bristles and weaken the glue. Lukewarm is right.
- Harsh cleansers or alcohol as a routine. They dry out and split bristles over time. Save quick alcohol spritzes for occasional spot sanitizing, not deep cleaning.
- Drying upright while wet. Water drains into the ferrule. Always dry flat with the head over an edge.
- Rushing the dry. Putting a damp brush away invites mildew. Let brushes dry completely before storing.
Watch for shedding and smell
A brush that keeps shedding bristles after a gentle wash, or a sponge that smells even when clean, is telling you it is done. Pushing a broken-down tool across your face just spreads bacteria. Retire it and replace it.
Download the free quick guide
A one-page guide to washing brushes without ruining them, plus a how-often schedule.
Frequently Asked Questions
Love a clean, healthy space but never quite get to the details? CleanMol handles the deep cleaning so you can focus on the small stuff, across Barrie and the wider GTA. Reach out for a cleaning plan tailored to your home.