



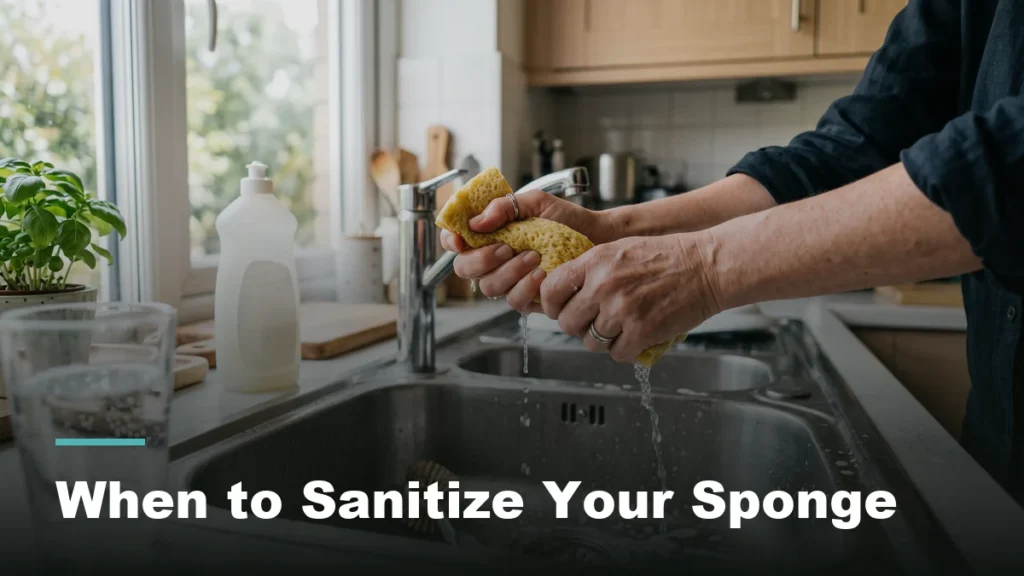
Every kitchen sponge is doing two jobs at once: cleaning up the counter, and quietly building a small bacteria colony inside itself, and you cannot tell by looking which job is winning. If you have been eyeing the one sitting by your sink and wondering whether tonight is the night, here is the honest answer to when to sanitize a kitchen sponge: it depends less on how it looks and more on what it has actually touched, which is worth understanding once instead of guessing every week. A sponge that only ever meets dish soap and plates needs different handling than one that also wiped up raw chicken juice, and that difference is exactly the kind of detail covered in our guide to reducing cross contamination in your kitchen.
This is not about fear. It is a five-minute habit that actually matches how your kitchen gets used, instead of a vague rule half remembered from somewhere online. The short version: sanitize a kitchen sponge on a rhythm that fits how it is actually used, not by guesswork.
Why a kitchen sponge is different from every other cleaning tool
A cellulose sponge is built to hold water, and that is exactly the problem. The same open, spongy structure that lets it soak up a spill also traps food particles and moisture deep inside, well past where a quick rinse under the tap ever reaches. A dish rag or a paper towel dries out between uses. A sponge left on the edge of the sink usually does not, and warm, damp, food flecked material is about as good as it gets for bacteria looking for somewhere to settle in.
None of that makes a sponge dangerous to own. It makes it a tool with a maintenance rhythm, the same way a cutting board needs oiling or a coffee maker needs regular descaling now and then. The difference is that most people never learn what that rhythm should look like, so the sponge either gets thrown out too early from nerves, or left going for months out of pure habit.
Did You Know
A sponge tends to carry whatever it last touched to the next surface it meets. One sponge doing double duty on the counter, the stovetop, and the sink drain often spreads more around the kitchen than it actually removes, which is part of why a dedicated sponge for raw prep areas is worth having.
So, when should you sanitize a kitchen sponge?
There is not one universal answer, because it depends on what the sponge has been doing. Here is how to think about it in three situations.
After anything raw
If a sponge touches a cutting board, a plate, or a counter that just had raw meat, poultry, seafood, or eggs on it, treat that as the trigger, not the calendar. Either switch to a clean sponge for the rest of that cleanup, or sanitize the kitchen sponge you are using before it touches anything else, including your hands.
On a standing rhythm even when nothing obvious happened
A sponge in daily use in a household that cooks regularly benefits from a routine sanitizing step every few days, not just when it starts to smell. Waiting for the smell means the sponge has already been building up for a while, since odour is a late signal, not an early one.
On a rotation, so nothing is ever overdue
Keeping two sponges and swapping them every couple of days gives each one time to actually dry out between uses, which does more good on its own than most people expect. A sponge that gets a chance to dry fully is already starting from a better place than one that stays damp around the clock.
People Often Ask
Do I really need to sanitize a kitchen sponge every single day? No. A daily rinse and wring is enough on its own most days; the sanitizing step is what you add every few days, or right after the sponge touches anything raw, on top of that daily habit.
What actually reduces what’s living in a sponge, and what just moves it around
A few home methods genuinely help. A few common habits mostly just rearrange the problem. Here is the difference.
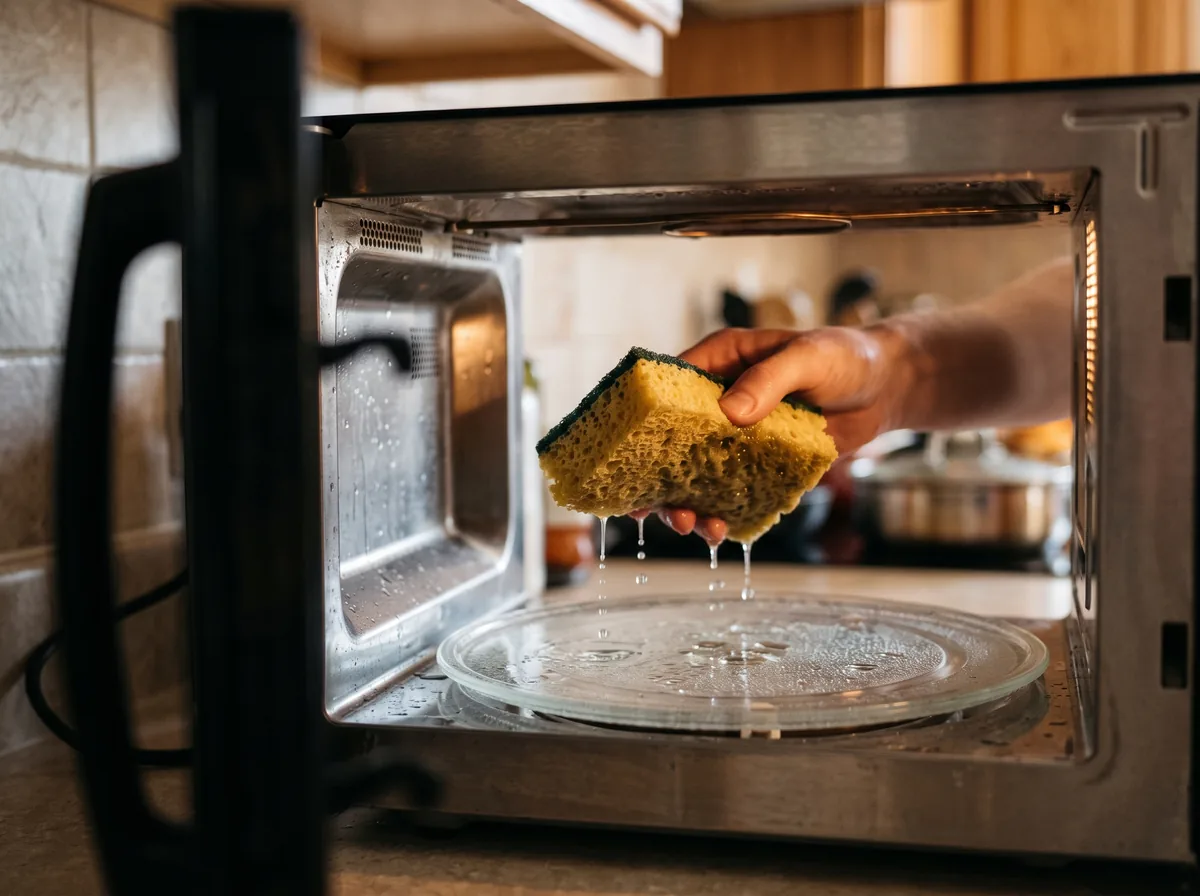
Microwaving a fully wet sponge
A sponge that is completely saturated with water, then microwaved in short bursts, is one of the more useful at-home options, since the heat reaches deep into the material rather than just the surface. It will not make the sponge sterile, and it will not help with staining or odour caused by grease. Fully wet is the operative word here. It is one of the fastest ways to sanitize a kitchen sponge without buying anything new.
Did You Know
A dry sponge, or one with a metal scouring pad still attached, should never go in the microwave. Dry cellulose can scorch or ignite quickly, and metal fibers can spark. Soak the sponge completely first and remove any metal scrubber before it goes anywhere near the microwave.
Boiling, or a dishwasher’s heated dry cycle
Dropping a sponge into a pot of already boiling water for a few minutes is a reasonable stand in for anyone who would rather not use the microwave. A dishwasher cycle that specifically includes a heated dry step works on the same idea and is an easy way to fold the sponge into a load you are already running.
A diluted sanitizing soak
For plastic scrub brushes, silicone scrubbers, or anything that should not go near heat, a short soak in a sanitizing solution mixed according to the product’s own label is a workable alternative. Rinse thoroughly before the sponge touches food again, ventilate the room while you work, and never combine cleaning products together while doing it. Mixing bleach with other household cleaners can create dangerous fumes, and that rule holds regardless of how small the soak is.
When is it time to stop sanitizing and just replace it?
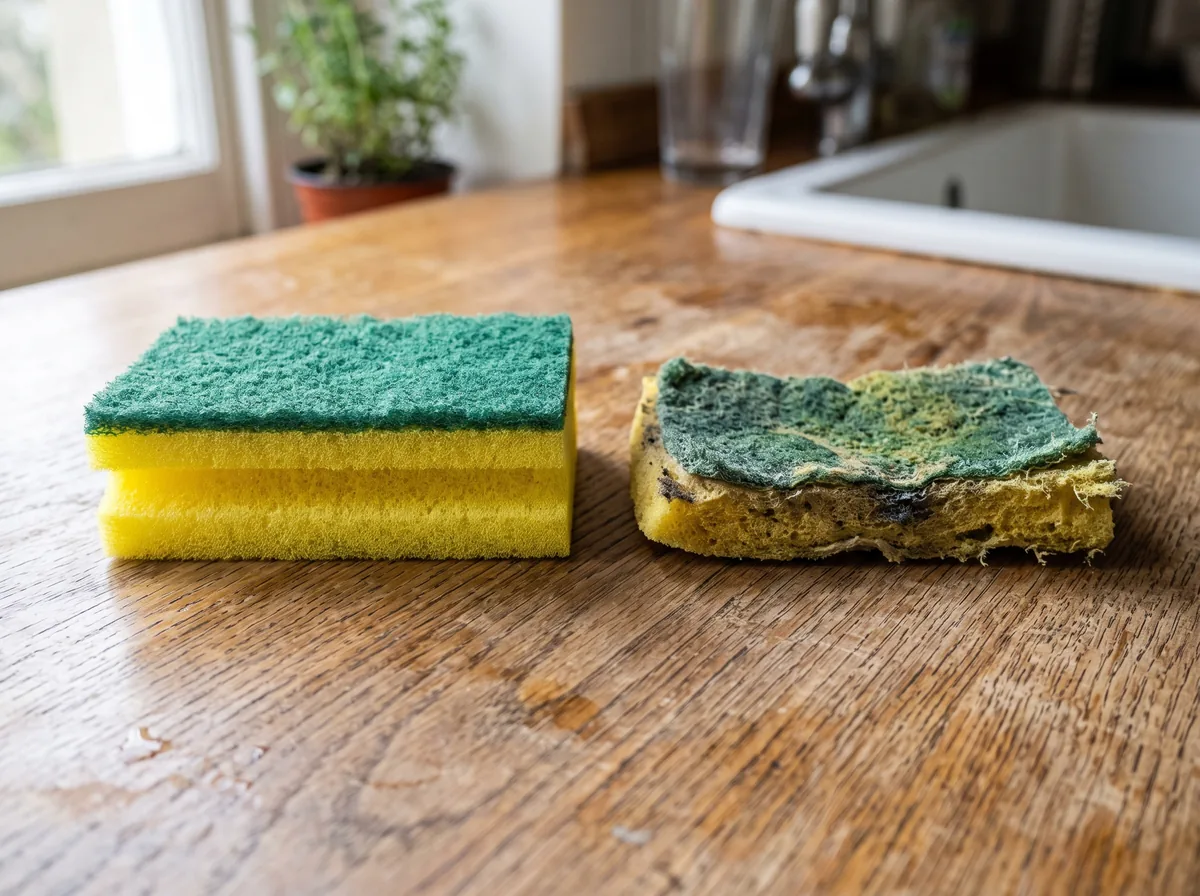
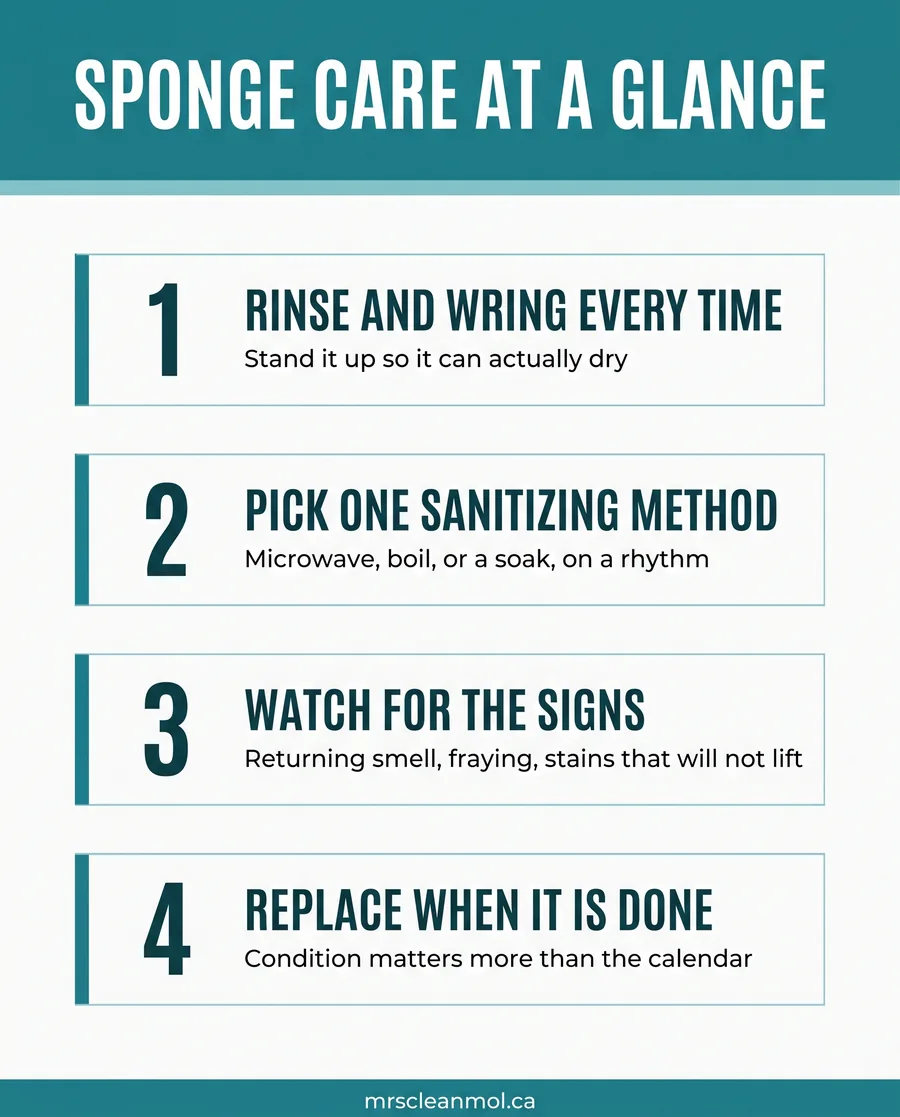
There is no fixed expiration date that applies to every household, since it really comes down to how heavily the sponge gets used. What matters more than the calendar is condition. A smell that comes back within a day of cleaning it, a texture that has gone stringy or is starting to fall apart in your hand, or discoloration tucked into the crevices that will not scrub out are all signs the sponge has moved past what sanitizing can fix. At that point you are managing a symptom instead of solving anything. Trying to sanitize a kitchen sponge that has already gone past that point rarely pays off, and a new sponge is the simpler move.
Did You Know
A returning smell usually means bacteria have settled somewhere sanitizing cannot reliably reach, deep inside the pore structure rather than on the surface. That is the practical signal to retire it, more than any specific number of weeks in service.
Good to know
The methods above can help reduce what is living in a sponge. They do not sterilize it, and no home method makes a sponge completely germ free. If anyone in the household has a compromised immune system, is pregnant, or you are cleaning up after a foodborne illness, ask a healthcare provider before you rely on any home method to sanitize a kitchen sponge, and see our guide to sanitizing a home after someone has been sick for the wider picture.
Download the free quick guide
A one page routine covering daily habits, a weekly sanitizing method to pick from, and the signs it is time to let a sponge go.
Frequently asked questions
Can I just run the dishwasher every day instead of handling this separately?
You can include the sponge in a load you are already running, but only if the cycle uses a heated dry setting, since that is the part doing the actual work. A quick or eco cycle without added heat mostly just rinses the sponge the same way handwashing would. If your dishwasher has a heated dry option, using it to sanitize a kitchen sponge a couple of times a week is a low-effort way to build the habit in without adding a separate step to your routine.
Does regular dish soap keep a sponge clean on its own?
Dish soap is good at breaking down grease and lifting visible food residue, which matters, but it is not designed to sanitize. It cleans the surface you can see without doing much for what has worked its way into the sponge’s interior. Think of soap and sanitizing as two separate jobs: soap keeps the sponge doing its cleaning work well, and a sanitizing step on top of that is what actually addresses what has built up inside it.
Is a silicone scrubber a better choice than a traditional sponge?
Silicone does not hold water the way cellulose does, so it dries faster and gives bacteria less of a head start between uses, which is a real practical advantage. It is also easy to run through a sanitizing soak or a dishwasher cycle since heat and moisture do not damage it. The tradeoff is that silicone is a poor match for baked on or stuck on food, so many households end up keeping both around for different jobs rather than replacing one with the other.
What is the best way to store a sponge between uses?
Standing it up in a small caddy or rack, away from direct contact with the sink basin, gives it the best chance to actually dry out between uses, which matters more than almost any single sanitizing step. A sponge left flat in a puddle of water at the bottom of the sink stays damp far longer, and damp is the condition that lets everything else build up in the first place. A dry spot near, but not inside, the sink is usually the simplest fix.
If you want the short version: rinse and wring the sponge after every use, pick one way to sanitize a kitchen sponge and actually stick to a rhythm with it, and let the condition of the sponge, not a date on the calendar, tell you when it is done. That is genuinely most of it.
And if a sponge is the only thing standing between your kitchen and a proper deep clean, that is worth fixing too. Our regular house cleaning visits cover the rest of the kitchen, so request a free cleaning quote and we will handle the parts a sponge alone never quite gets to.